The Gluten Free Pie Crust of Your Dreams
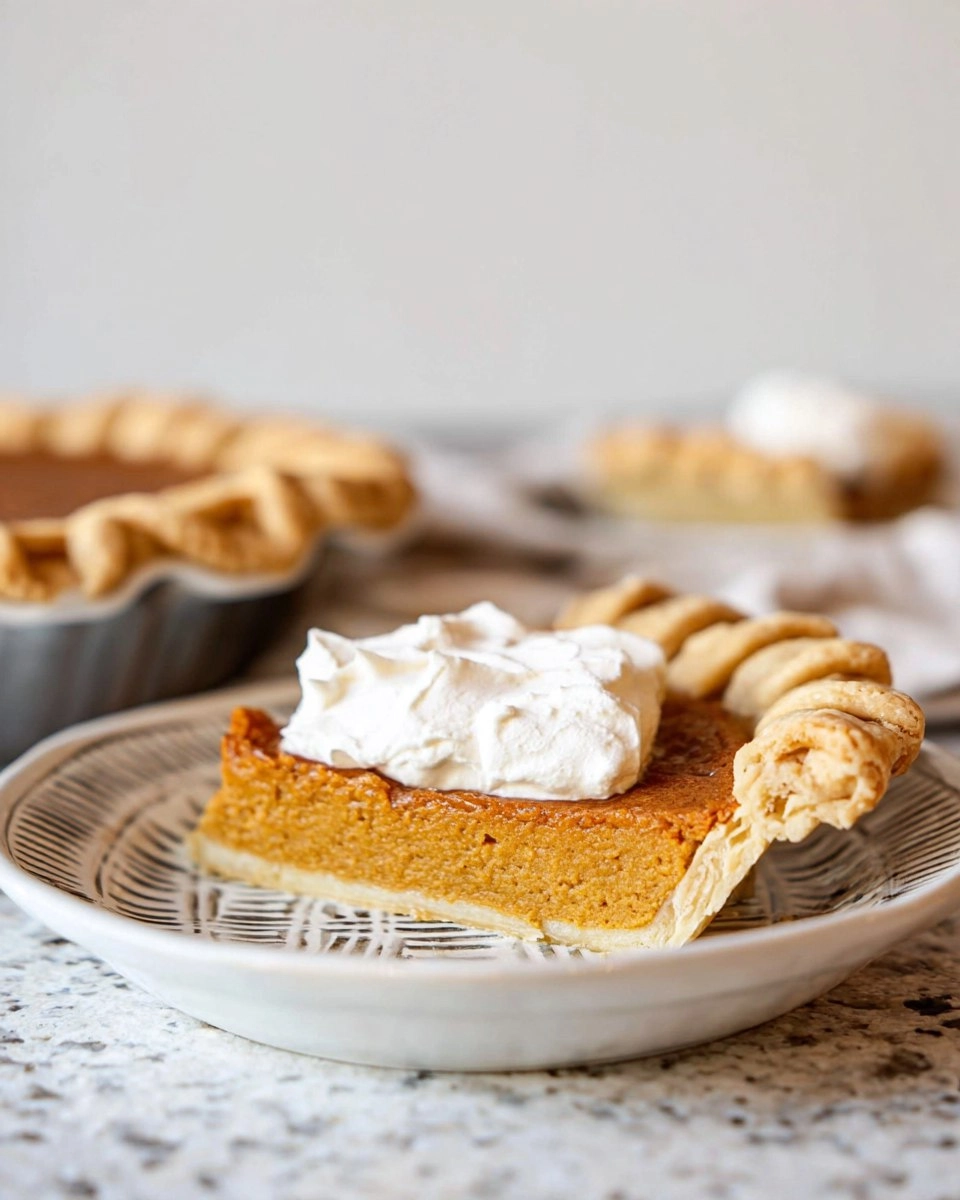
The days are getting shorter, and that crisp autumn air is sweeping in with a promise of cozy evenings spent baking. Picture this: a warm pie fresh out of the oven, its flaky crust crisp and golden, and aromas wafting through your home that make you feel instantly at ease. As the food photographer in your mind snaps the perfect shot, you can almost taste that buttery crust paired with your favorite filling. That’s exactly what you’ll get when you make The Gluten Free Pie Crust of Your Dreams. This pie crust isn’t just any ordinary crust; it’s a delightful blend of simplicity and flavor crafted from just four ingredients, plus a little ice water. Using butter transforms the crust into something truly special, whether you choose to showcase a bright fruit filling or a rich custard.
Table of Contents
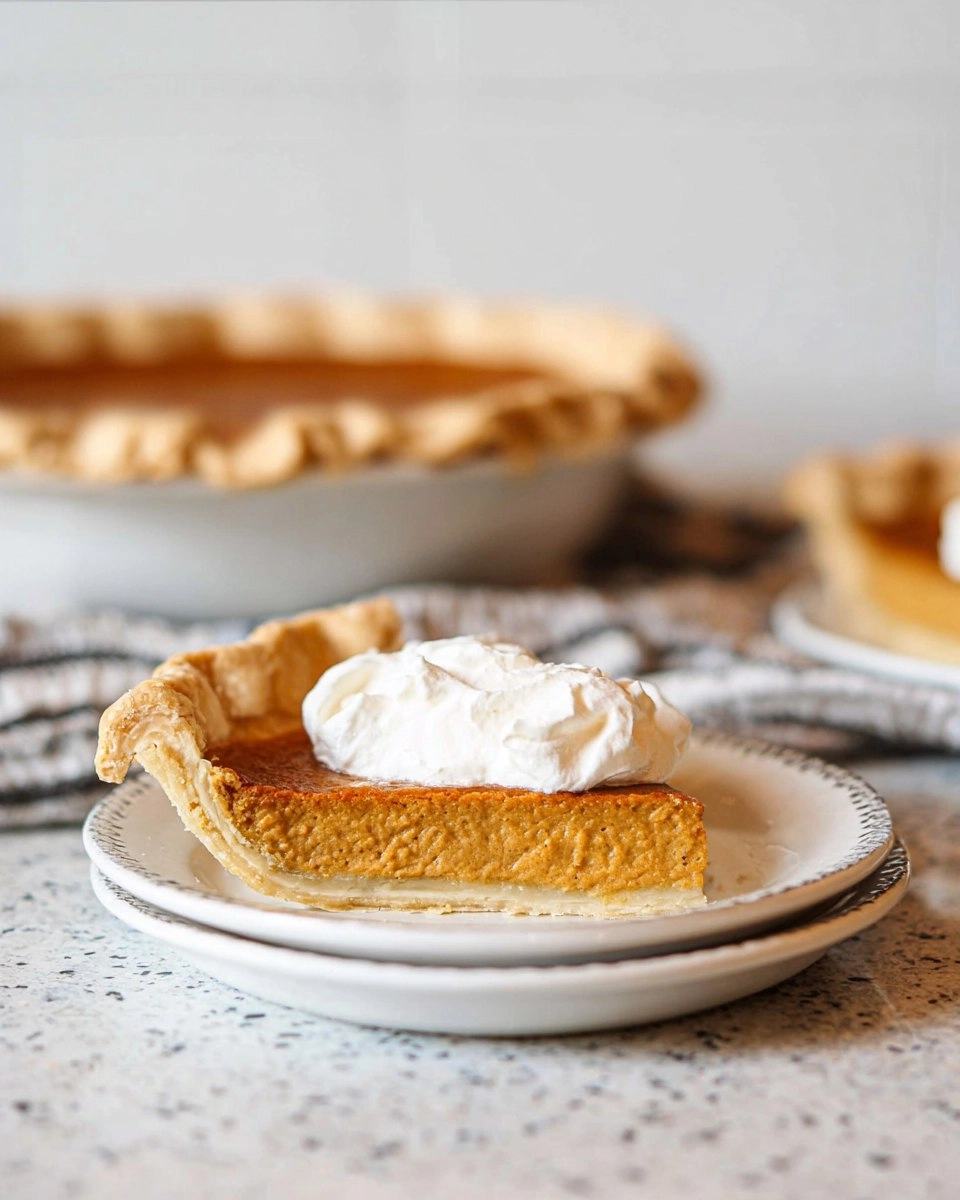
I still remember the first time I made a pie crust. It was my grandmother’s recipe, and I felt a sense of connection as I hugged her old rolling pin, trying to recreate her magic in my own kitchen. Now, I’ve taken that cherished family tradition and made it accessible for everyone, especially those looking for a gluten-free option. So grab your mixing bowl, and let’s dive into creating The Gluten Free Pie Crust of Your Dreams that will have your family coming back for slice after slice!
Why You’ll Love This Recipe
- Simple & Quick: With just four main ingredients, this pie crust can be in the oven in no time—perfect for last-minute baking!
- Irresistible Flavor: The all-butter goodness makes every bite rich and scrumptious, elevating any filling you choose.
- Eye-Catching Appeal: Whether for a holiday gathering or a weekend treat, this crust looks impressive and tastes even better.
- Flexible Serving: Perfect for any occasion, this gluten-free crust is ideal for fruit pies, custard bites, or even no-bake recipes!
- Diet-Friendly Options: You and your gluten-sensitive friends can enjoy delectable dessert delights without compromise.
Ingredients You’ll Need
- Unsalted Butter: This recipe calls for 9 tablespoons of unsalted butter. Using unsalted allows you to control the saltiness of your crust better. If you’re in a pinch, you can substitute with dairy-free butter if needed.
- Gluten-Free Baking Flour Blend: 1 1/2 cups is essential for this crust; make sure it’s a blend that includes a binder like xanthan gum for that flaky texture. You can try almond flour in a pinch, but the results won’t quite match the traditional flavor.
- Granulated Sugar: One tablespoon adds a hint of sweetness to your crust, helping to balance savory and sweet fillings alike. If you’re cutting sugar, consider using coconut sugar for a slightly different flavor.
- Salt: A heaping 1/2 teaspoon enhances the overall flavor of the crust. Use kosher salt or sea salt for the best results.
How to Make The Gluten Free Pie Crust of Your Dreams
Chill the Butter: Begin by dicing your unsalted butter into 1/2” cubes and place them on a plate in the freezer for 20-30 minutes. This chilling step is crucial for creating a flaky crust as it prevents the butter from melting and ensures it stays well-distributed throughout the dough.
Mix Dry Ingredients: In the bowl of a large food processor, combine the gluten-free flour blend, sugar, and salt. Pulse several times to ensure the dry ingredients are well mixed before moving on to incorporate the butter.
Add Butter: Now, it’s time to add those cold butter cubes. Pulse until the mixture resembles small peas. The unevenly sized pieces of butter will create that coveted flaky texture once baked.
Incorporate Ice Water: Drizzle 4 tablespoons of ice water over the mixture, gently pulsing to combine. Add more water, up to a total of 3/4 cup, until the dough holds together when pinched. It should feel moist but not overly sticky. Remember, the amount of water can depend on the blend you use, so go slowly.
Form the Dough: Transfer the mixture to a clean surface and press it together into a ball. Flatten it into a disc shape. This helps relax the gluten-free flour, making it easier to roll out later.
Laminate the Dough: To create an even flakier crust, slice the disc in half. Stack the two halves and press down again to shape them into another flat disc. Repeat this process by slicing into quarters, stacking, pressing, and shaping. Wrap it up tightly in plastic wrap and refrigerate for a minimum of 2 hours, or even overnight for the best result.
Prepare for Rolling: After the chill, place a 9” pie pan and your rolling pin in the freezer while the dough rests on the counter for a few minutes. This helps keep everything cold, which is crucial for a successful crust.
Roll Out the Dough: Dust your work surface and the top of the dough disc generously with gluten-free flour. Then, roll it out into a 12” circle. Remember to scrape underneath frequently to ensure it doesn’t stick. If the dough splits or cracks, simply use your fingers dipped in ice water to pinch it back together.
Transfer the Dough: Once rolled, dust off any excess flour and use a bench scraper to help lift the dough into your chilled pie pan. Gently press it into the sides and bottom. Trim any excess dough hanging over the sides and tuck it underneath itself for a clean edge.
Flute the Edges: Style your crust edges by crimping with a fork or molding them with your fingers. Afterward, refrigerate it for at least another hour to help it keep shape while baking.
Blind Bake (Optional): To par-bake, preheat your oven to 400°F and place an oven rack in the lower third. Poke shallow holes in the bottom of the crust, press a piece of parchment inside, and fill it with weights. Bake for about 15 minutes until lightly golden. Remove the weights and bake for an additional 3-4 minutes until the bottom looks dry. Let it cool slightly before adding your filling.
Full Blind Bake (Optional): If you’d like a fully baked crust, after removing the weights, continue baking until golden brown — roughly 10-12 minutes. Allow it to cool completely before adding your no-bake filling.
Storing & Reheating
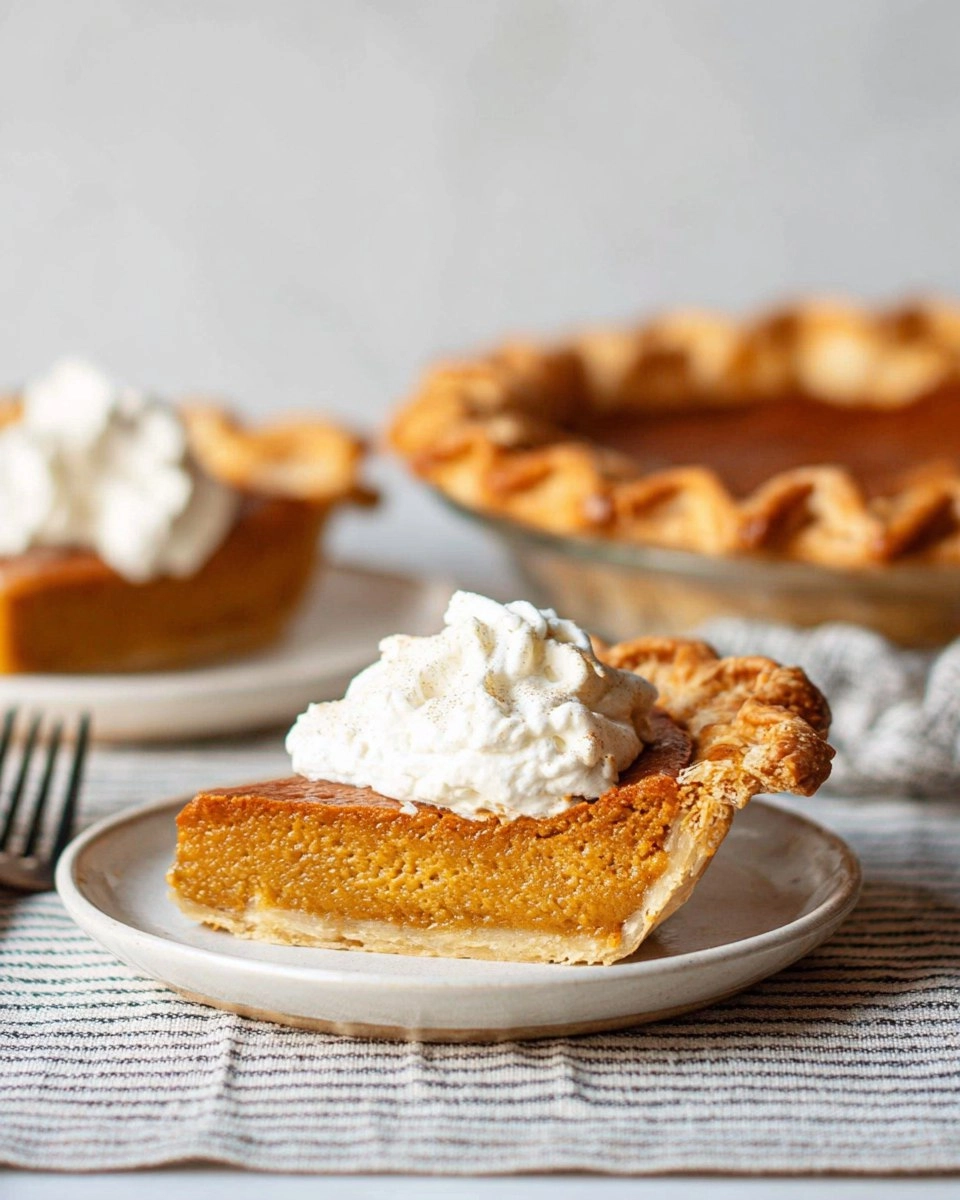
For any leftover crust, store it at room temperature for up to 1 day. If you need more time, wrap it tightly in plastic wrap or place it in an airtight container and refrigerate for up to 3 days. For even longer storage, freeze the prepped crust. Just ensure it’s well-wrapped to avoid freezer burn, and it can last for up to 3 months. When you’re ready to use it, simply thaw overnight in the fridge, then reheat it at 350°F for about 10 minutes. Keep in mind that while freezing may slightly alter the texture, a quick refresh in the oven can help bring back that delightful crunch.
Chef’s Helpful Tips
- Work quickly to keep the butter cold for a better crust.
- Ensure your flour blend contains a binder; otherwise, the crust may crumble.
- If the dough feels too dry, add small amounts of ice water until it can easily hold together.
- If you’re short on time, chilling the dough for just an hour can still yield good results.
- Experiment with this crust! It can serve as more than just a pie crust—use it for savory quiches or tarts.
The allure of homemade pie crust, especially one as versatile and inviting as The Gluten Free Pie Crust of Your Dreams, can set the stage for wonderful memories shared with family and friends. Each step in this process is not just about making a treat but about creating an experience, one that you’ll cherish as much as the crust itself. So, jump into the kitchen and unleash your inner baker. The smell of that buttery, flaky crust is not just a sign of a delicious dessert; it’s an invitation to gather around the table and enjoy.
Recipe FAQs
Can I make this crust ahead of time?
Absolutely! This gluten-free pie crust can be prepared in advance. After forming the dough into a disc, wrap it tightly in plastic wrap and store it in the fridge for up to 3 days. Alternatively, freeze it for up to three months. Just remember to thaw it in the fridge the night before you plan to use it!
What if my dough is too crumbly?
If you find your dough crumbling apart, it likely needs a bit more moisture. Drizzle in additional ice water—one tablespoon at a time—while gently pulsing in the food processor until you achieve a consistency where the dough holds together when pinched.
Can I use a different flour blend?
Yes, just make sure it’s a gluten-free blend that includes a binder like xanthan gum; otherwise, your crust may lack structure and crumble easily. If experimenting with different flour types, keep an eye on the moisture level and adjust accordingly.
Is it necessary to weigh down the crust when blind baking?
Weighting the crust helps keep it flat and prevents the edges from over-baking or burning while maintaining an even shape for your filling. Using pie weights, rice, or dried beans will ensure that the crust bakes properly.
PrintMore Desserts & Appetizers Recipes
Did You Enjoy Making This Recipe? Please rate this recipe with ⭐⭐⭐⭐⭐ or leave a comment.
📖 Recipe Card

The Gluten Free Pie Crust of Your Dreams
- Prep Time: 15 minutes
- Cook Time: 25 minutes
- Total Time: 40 minutes
- Yield: 1 crust 1x
- Category: Dessert
- Method: Baking
- Cuisine: American
Description
This pie crust features a delightful blend of flavor and simplicity with just four ingredients. Perfect for any filling, it’s the ideal option for gluten-free baking.
Ingredients
- 9 tablespoons unsalted butter
- 1 1/2 cups gluten-free baking flour blend
- 1 tablespoon granulated sugar
- 1/2 teaspoon salt
Instructions
- Chill the unsalted butter in the freezer for 20-30 minutes.
- Mix the gluten-free flour blend, sugar, and salt in a food processor.
- Add cold butter cubes and pulse until resembling small peas.
- Drizzle ice water while pulsing until the dough holds together.
- Form the dough into a ball and flatten it into a disc.
- Slice and laminate the dough, then refrigerate for 2 hours or overnight.
- Roll out the chilled dough into a 12" circle.
- Transfer and press the dough into a pie pan, fluting the edges.
- Blind bake by preheating the oven to 400°F and baking with weights for 15 minutes.
Notes
Use cold butter for the best flakiness in the crust.
Ensure your flour blend has a binder like xanthan gum.
Store leftover crust wrapped tight for up to 3 days.
Nutrition
- Serving Size: 1/8 of pie crust
- Calories: 175
- Sugar: 1g
- Sodium: 70mg
- Fat: 12g
- Saturated Fat: 7g
- Unsaturated Fat: 4g
- Trans Fat: 0g
- Carbohydrates: 15g
- Fiber: 1g
- Protein: 2g
- Cholesterol: 30mg

